Have you seen the photo called “PSEUDOMNESIA: The Electrician”? It’s visually arresting; sure. But that’s not all. The photo won a major photography award in March 2023.
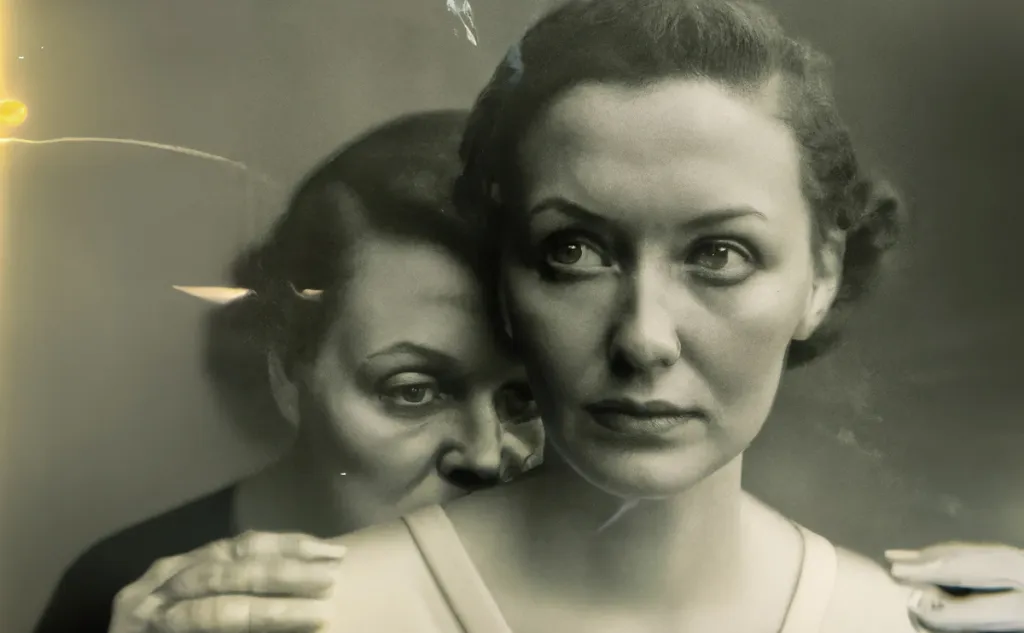
But the photographer, Boris Eldagsen, did something unexpected – he declined the prize. Turns out, the image was created with AI.
Eldagsen submitted his AI-generated photo in the competition, just to see what would happen. He might not have anticipated winning the competition, but the events triggered some deep and urgent discussions in the world of art.
Among these was the question: what’s the role of a human expert in the artistic process?
Let’s chisel the question a bit and apply it to the world of design.
What’s the role of a graphics designer in the age of AI?
Let’s pick off from an interview that Eldagsen gave weeks after the event. In this interview, he had the following to say.
“I started with photography because drawing was a lonely job. I was always experimenting. So when AI generators started, I was hooked from the very beginning. For me, as an artist, AI generators are absolute freedom. It’s like the tool I have always wanted. I was always working from my imagination as a photographer, and now the material I work with is knowledge. And if you are older, it’s a plus, because you can put all your knowledge into prompting and creating images. If I were 15, I would have probably just generated Batman.”
In these words, Eldagsen has offered a thinking framework for artists (graphics designers included) who are grappling with the question of how they keep themselves relevant in the age of AI design.
His experiment and his interview comments make some interesting revelations.
- In the world of design, we need to shift the focus from “This looks cool” to “Okay, why does this work so well?”. AI can make pretty pictures, but understanding the principles behind great work is what separates a true designer.
- Effort still matters. Even with AI, Eldagsen made over 60 edits to his image. Great design, whether human-crafted or AI-infused, still requires thought, refinement, and plain old hard work.
- AI mastery will take you to the top. If you learn to harness AI, you can reach the top of your field. More importantly, you might find that the view from the top isn’t as impressive as you’d imagined. The real challenge starts then.
Intrigued? Now we’re ready to explore the essential skills that will make you an irreplaceable designer in this new landscape.
1. Think deeply about your work
Let’s start by asking a fundamental question: what does it really mean to be a designer?
Let’s take an example. A rookie designer, when tasked with website design, might conceptualize the work as merely arranging elements in Figma. But true mastery lies in thinking deeply about the purpose of your work. After all, a website isn’t just a digital brochure; it’s the online embodiment of a brand. Just as a well-tailored suit projects confidence and professionalism, a well-designed website should instantly communicate the essence of the brand’s personality and values. If you think about your work in terms of why that work is needed, you’ll always stay ahead of AI.
Let’s explore a few more examples:
- Sure, AI could whip up a logo in minutes. But a true design expert understands the power of symbolism, color psychology, and typography. A great logo distills a company’s mission into a single, unforgettable mark. AI doesn’t think like that; a great designer does.
- Packaging design isn’t about making pretty boxes. For a customer, to unbox is a tactile, sensory experience. An expert packaging designer considers form, function, sustainability, and the unboxing ritual – all while communicating the brand story. AI can’t do this.
- An illustration isn’t just decoration. It can convey complex ideas, evoke emotions, and guide a user’s eye. Think of the difference between a generic stock photo and a custom illustration that perfectly captures the mood of your content. This is also the difference between a rookie illustrator and one who’s worked on 100+ projects.
The key difference? AI operates at the task level – it can make things look good. But as a human designer, you can transcend mere visuals. You bring a deeper understanding of purpose, meaning, and the subtle nuances that resonate with your audience. This is your advantage, and it’s absolutely worth cultivating.
2. Strive to become a great service professional
One of the keys to becoming an AI-proof designer is to understand that your job goes way beyond what’s written in the job description. The JD might cover 25% of your actual work, but the other 75% can never be defined. It evolves in the real world, as you deal with real people and real situations.
Think about it – design doesn’t happen in a vacuum. Your work exists within the context of an organization made up of humans, each with their own personalities, experiences, and agendas. Every day, unexpected situations and curveballs get thrown your way. And you’ve got to be thankful for this.
This is where you have a massive advantage over AI. While AI can crunch data and follow rules, it cannot understand human nuance, context and unpredictability the way you can as a living, breathing person. AI can’t deal with office politics, project constraints, or connect with the story of a brand.
Your opportunity is to lean into this human element of design work. Don’t just go through the motions – be truly present, observant and excited about the inherent messiness of the real world you operate in. Embrace the chaos and complexity, because that’s where you shine.
3. Think of yourself as a leader and AI tools as smart freshers
Let’s talk about how you can co-design with AI tools instead of being anti-AI. The key is to think of AI as your smart assistant that can handle certain tasks, while you elevate yourself to a higher role of supervisor, mentor, and reviewer.
Imagine you’re a designer working on a new app. Brainstorming color schemes can eat up valuable time. Enter an AI design tool wherein you can describe your brand (think “energetic, youthful”) and instantly get a palette of harmonious options. Now you, the human designer, get to choose the one that best captures the app’s vibe. Moments before you were staring at a blank screen; now you’re reviewing a dozen possibilities.
Here’s another example. A lot of designers are familiar with being stuck on a wireframe. Now imagine an AI design tool to which you can describe your app’s functionality – login page, user profile, etc. – and which can then generate a basic layout. This frees you up to focus on the user journey: how users flow through the app, and where to place key features for optimal usability.
These are just a few examples. Co-designing with AI isn’t about replacing your expertise.
“AI is not the enemy; it’s the new paintbrush. The brilliance lies not in the tool itself, but in the artist’s vision and the skill with which they wield it.”
Nevilson Christian, founder of SeekThem
So, are you ready to become an AI-powered designer? Don’t fear the AI wave. Grab your surfboard, charge at it, and ride it.
Featured image by Alice Dietrich on Unsplash
The post 3 skills to Beat AI and Thrive as a Designer appeared first on noupe.


