If you’re a creative entrepreneur or content creator for a business, service, or advocacy, you’ve probably experimented with several mediums to get eyes on your social media platforms. It’s a tough job, and competition is fierce. Everyone and their grandmother is taking advantage of the latest content creation tool, whether Instagram filters or AI images, as soon as it drops.
As new tools proliferate, the content from those tools becomes more ubiquitous and homogenized, and then it’s off to find the next magic button out there. This is why it pays to have some hard designer-y skills under your belt. One of the skills that design students or anyone tech savvy with an artistic bent are quickly adopting these days is 3d rendering. Once relatively niche and primarily used in the gaming and VFX industry, working with 3d today is as accessible and inexpensive as picking up Photoshop, thanks to software like Blender 3d, Unreal Engine, and the online community built around these programs.
3d rendering (or 3d production, to be a little more accurate) takes some effort to learn, but the rewards are worth it. By working in 3d, you can build a vast library of different materials that you can mix, match and place in front of a virtual camera to come up with captivating pieces of content for your socials, and in much less time than you’d think. In this article, we’ll look at the philosophies at play in the medium of digital 3d, and go through the process of creating an exciting piece of content from start to finish.
Core Advantages of 3d
A Logistical Dream
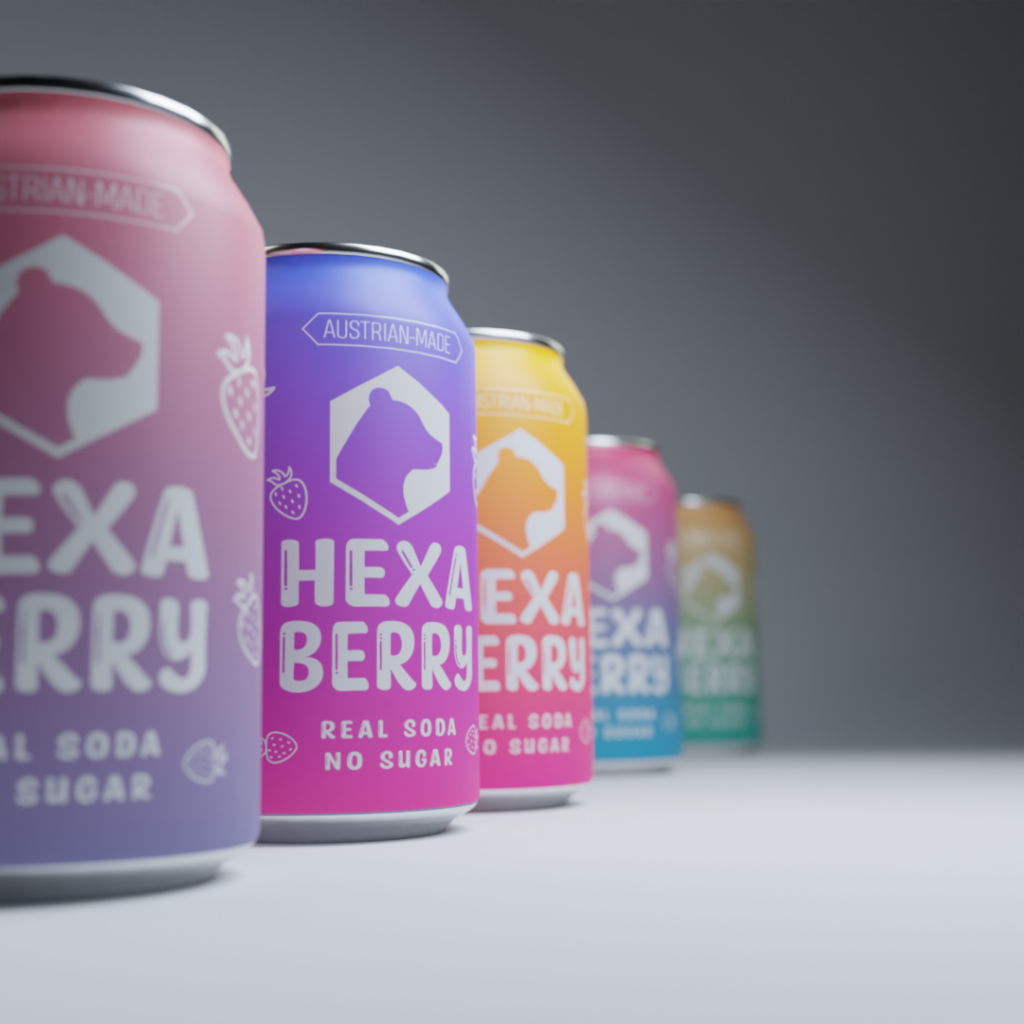
The primary advantage digital 3d has over other media is that it has all the perks of working in a (simulated) physical space without the constraints you might experience working in the real world. Consider, for example, a post meant to promote a product- a new soda brand, let’s say. You might schedule a photo shoot with your photographer, travel to the studio on the agreed day, wait for post-processing and then finally have your content, only to realize that perhaps an outdoor setup would have been more appealing. With a digital 3d representation of the product, this sudden change of mind would not be as expensive.
An example of the aforementioned fictitious soda brand
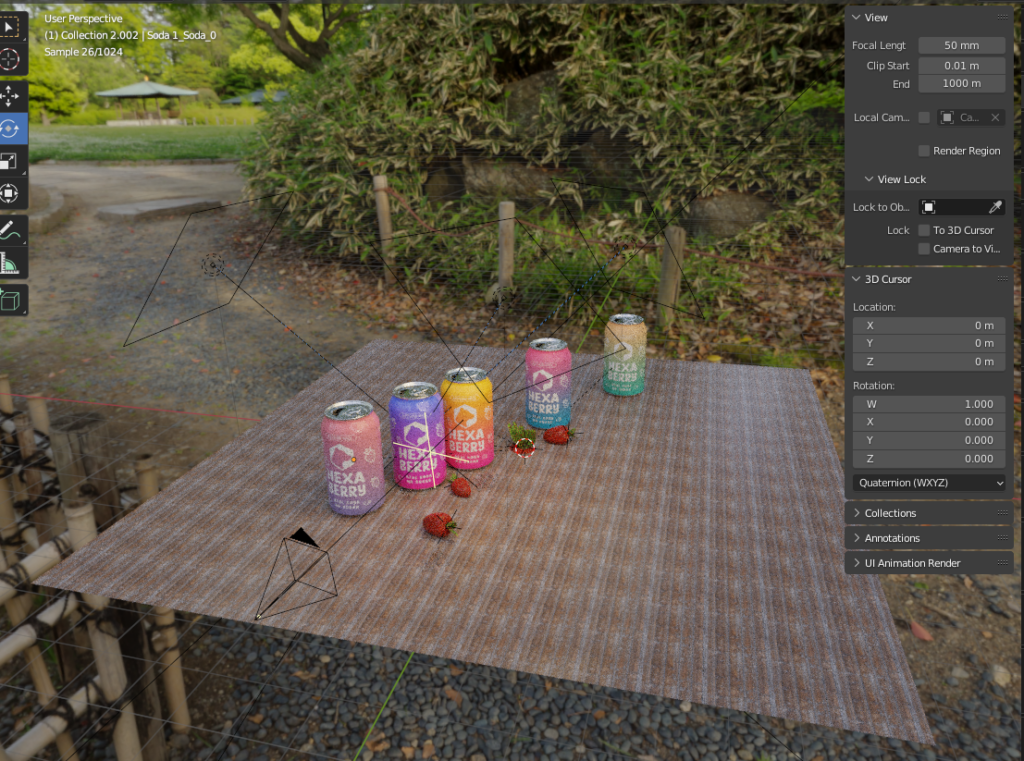
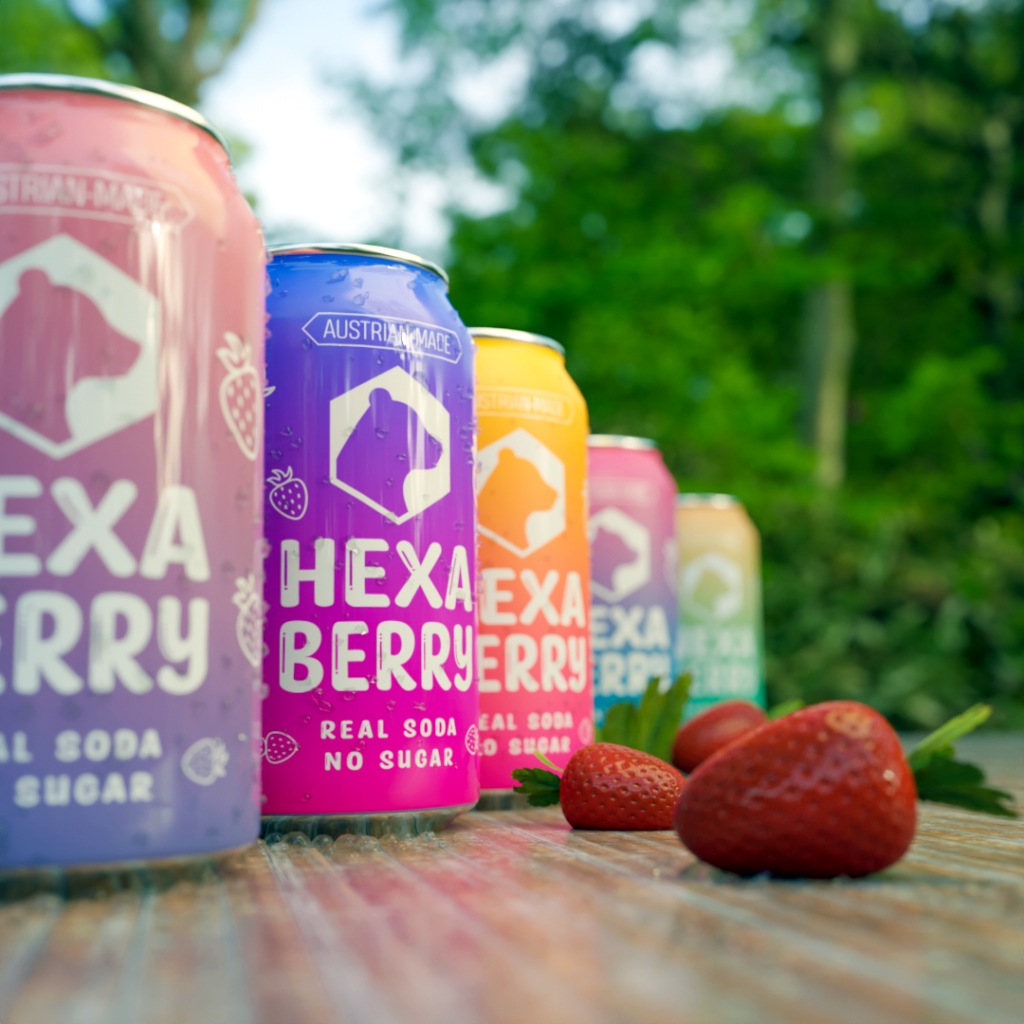
With a digital 3d representation of the product, you can act on your creative whim immediately and, within half an hour, have an alternate shot ready!
Proceduralism
Modern 3d programs have proceduralism as a major focus since creatives from any industry benefit from being able to work faster. There are too many features to discuss at any length in this article, but here’s a glimpse of how a 3d project might be drastically altered just by fiddling with sliders or pressing buttons.
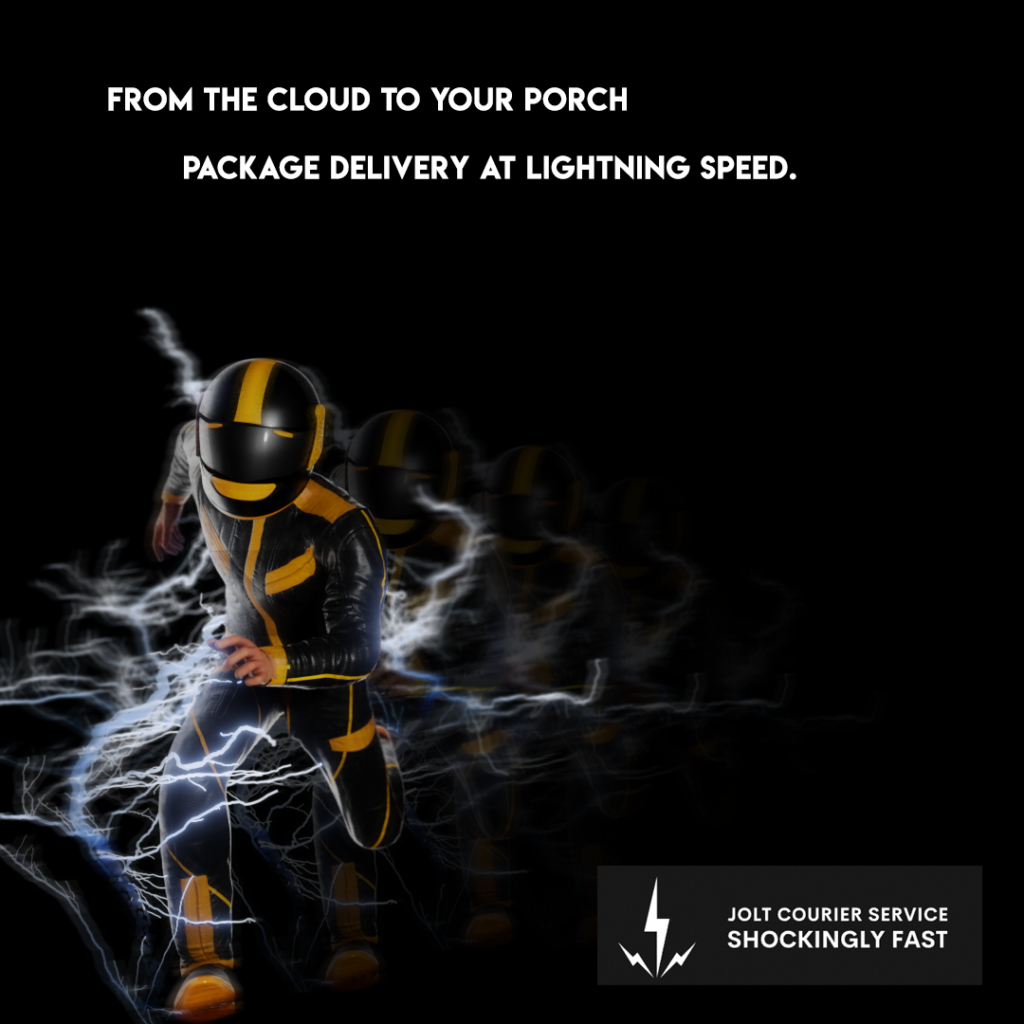
Here is another fictitious post for a fictitious courier service. Let’s assume the client isn’t too happy with the figure’s layout and the orange accents on the runner. Fortunately for us, the graphics were made in a 3d program.
On the right of this image is the 3d model’s material, which affects its color and surface properties. The colored rectangles on the panel correspond to the different colored areas in the character’s suit.
We made the changes in a matter of seconds by simply clicking on these fields and choosing a new color.
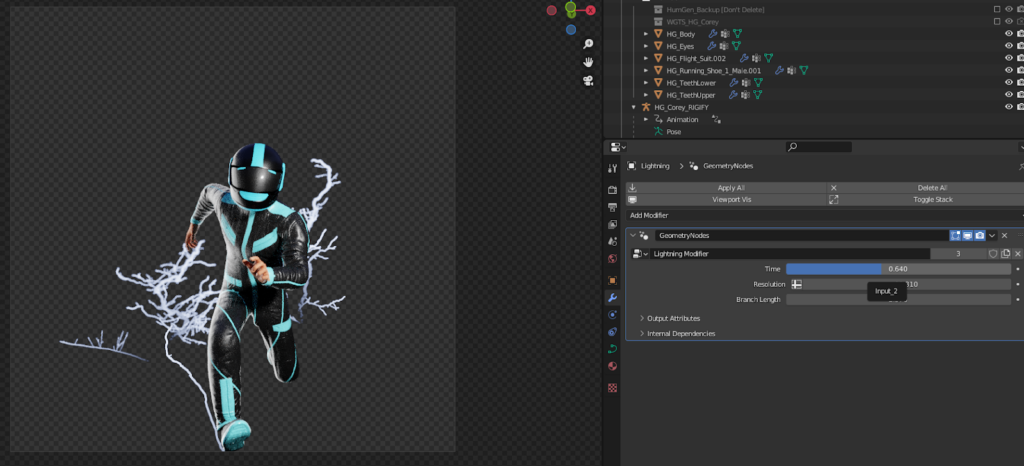
Likewise, we could reposition our camera and adjust the lighting streaks by adjusting the sliders on the modifier panel on the right.
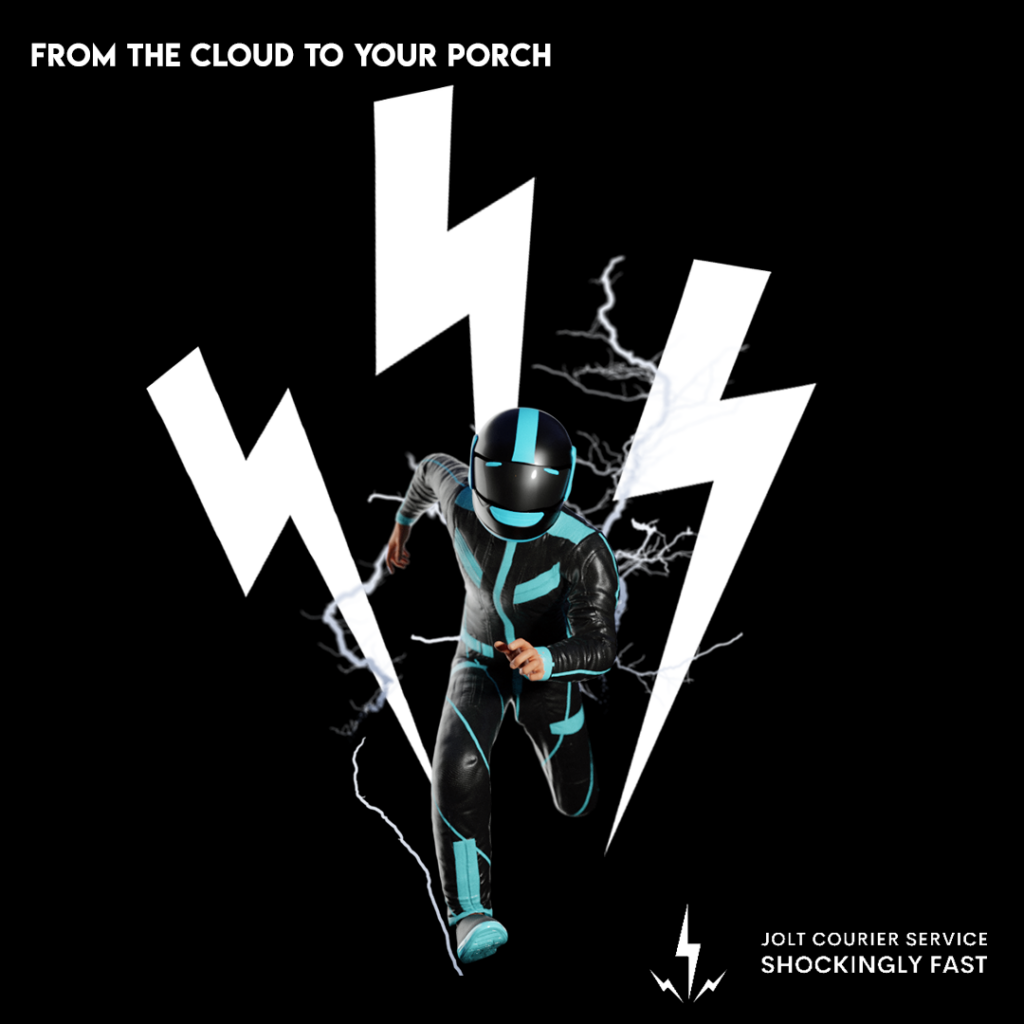
This is the essence of proceduralism in digital 3d. You can set up a workflow that frees time to work on the bigger picture instead of getting lost in the minutiae of a larger project when the time comes to respond to feedback. You can automate smaller tasks and focus on things like your composition, colors, and storytelling. Some parts of production in 3d are already procedural, but virtually anything can be set up to work procedurally – even creating models in some cases.
Abundance of resources/ Community
Well and good, you might think, but not everyone has the luxury of spending a few days learning the ins and outs of digital 3d. For the busy designer or anyone with time constraints, there are many resources to shorten or even bypass the learning curve for some 3d tools:
Asset providers like Kitbash 3d, Sketchfab, and Polyhaven have a large collection of pre-made models you can use in your projects instead of creating everything from scratch.
Developers create plugins or modifier setups that can simplify arduous but necessary tasks. Gumroad is a great repository for such things.
Channels on Youtube or aggregate websites are perfect for keeping your ear on the ground for the latest game-changing tools.
All images thus far contain CC-0 or CC-BY assets, generators, or plugins available online. While some resources are free to use with no restrictions, others are for sale or require you to credit the original creator. As in any form of digital media, it is always wise to read carefully the terms of use for anything you might use in your work.
In-Practice Example
The examples above were for static images, but where 3d can really shine is in animation. Halloween is just around the corner at the time of this writing, so we’ll go over (in very broad strokes) how I created an animated skit for GarageFarm.NET that would suit the occasion.
Concept
GarageFarm.NET is an online render farm that allows 3d artists to meet their deadlines and save time by distributing the render process of a project over a host of high-powered computers. I decided that the skit would be about the Grim Reaper coming to claim a character only to realize that it had been beaten to it by long render times on a single workstation (a common pain point that 3d artists trying to meet short deadlines face). I used Blender 3d – an open-source 3d program available to everyone.
The final result was completed within a total of 14-16 hours. You can check out the final video here.
Collating Assets
To manage this time constraint, I used a combination of assets that I had saved from previous projects and assets that were shared in online hubs like BlendSwap and Polyhaven – limiting my hand modeling to elements that would take less time to create than to search for online.


The opening scene layout consists of a few elements from the talented artists who contributed to Polyhaven arranged around planes that would serve as the walls and floor of an interior setting.
The skeleton asset was from an older post I made years ago. I used clothing from a human generator plugin for Blender called HumGen, available on BlenderMarket.
Staging the scenes

Animation
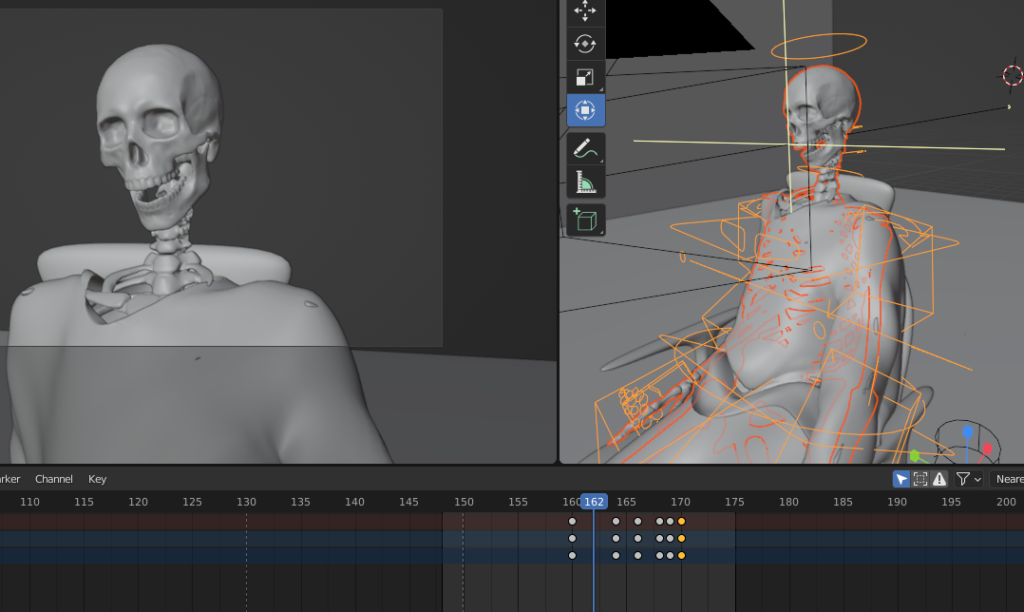
With everything prepared, all that was left to do was animate the characters. I used a pointing animation from Mixamo to animate the Grim Reaper, which left only the cameras, the door, and the skeleton to think about.
Mixamo is a library of motion capture data that allows users to choose animation and quickly transfer that animation to their custom 3d character.
Sound
For the Grim Reaper’s voice, I used Replica, a program that reads text input using a selection from a library of AI voices.
And I used the YouTube Studio sound library for the music and sound effects.
Conclusion
To go into more detail would require its own article, and I am by no means suggesting that you can pick up 3d software and instantly create something like this. Still, with dedicated study and practice and the modern tools available, I believe any creator can leverage 3d to create diversity and more interest in their social media content within a year or two.
Whether you’re considering learning 3d or are an experienced user, I hope this article gave you a glimpse of new possibilities and inspired you to try something new. Best of luck, and happy creating!
The post Why 3d Rendering is Perfect for Creating Captivating Social Media Content appeared first on noupe.